It’s generally better to take action if you see a foundation crack in your basement before it worsens. In their lifespan, over one-fourth (25%) of all homes will develop structural deterioration, such as a foundation crack. However, if you don’t take the problem seriously, your house will be one of the unfortunate 7% that has serious structural trouble.
You don’t want to be a part of the 7%? Great, we now cover how to use epoxy, the best and most cutting-edge way, to rebuild a basement foundation.
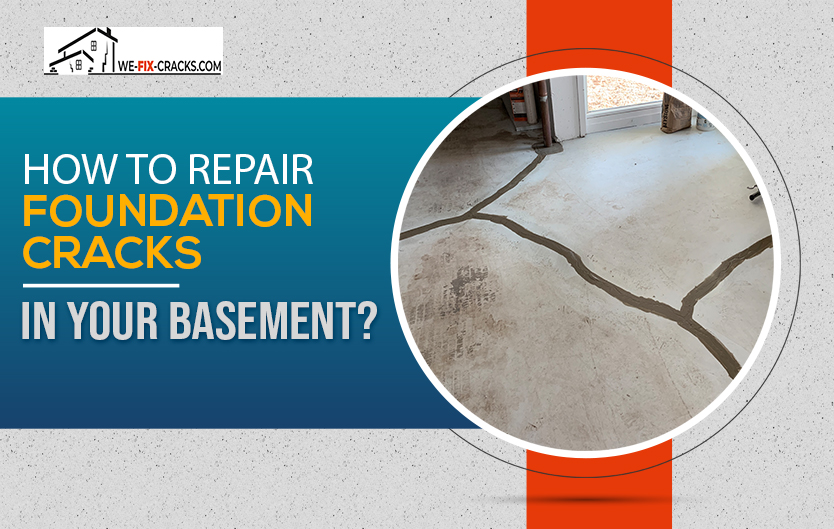
How to Fix Foundation Cracks in your Basement?
Let’s dive into the process we need to consider while fixing foundation cracks in your basement:
1. Recognize The Crack:
In order to determine whether it would be better to employ a professional rather than attempt to fix the foundation crack yourself, you must first diagnose it. There are many different forms, sizes, and dangers associated with foundation cracks. The majority of the time, they appear at windows and corners within the first year of a building’s construction. When the concrete dries, this happens. Concrete sometimes cracks as a result of the volume shift caused by the water leaving it.
2. Get Ready To Fix The Crack:
The choice between working with a pro and doing it yourself should be reduced after reading the above. In conclusion, if you’re a DIYer, you should only think about using this foundation repair technique if your vertical crack is 1/8″ or smaller. If you see anything else, you should get in touch with We Fix Cracks because it could not be as obvious as a crack.
3. Align Injection Ports With Nails:
Now that the injection ports are where you want them to be, drive some nails into those areas. As a general rule, you should use 10D finishing nails and space them about 12 inches apart. By doing this, you can ensure that the epoxy is evenly mixed for later injection.
4. Model The Epoxy Sealant:
As an example, we’ll use the Polygem Liquid concrete Repair Kit, but keep in mind that other products may differ. However, the kit comes with two epoxy crack sealers marked.
Place a generous amount of epoxy on a scrap board or container with each of the two provided sticks after scooping it up with each stick. When the two mixtures are combined, blend them with a clean putty knife until the color is consistent gray.
5. Connect Injection Ports To Nails:
You can now put the 10D finishing nails where you previously tapped them in for the injection ports. Put a tiny amount of the epoxy sealer you made at the bottom of the injection ports so that it can seal the foundation
6. Fill Up The Breach With The Epoxy Mixture:
Once you’ve completed the aforementioned steps, use the epoxy sealer you mixed together to fill up the crack and the base of the injection ports. Don’t use the combination too much or too little when applying. Spread the combined sealer in, around, and on the injection ports with about 1/8″ of the mixture using a broad, clean putty knife (or margin trowel). To make the sealer look more pleasing, smooth it over after application with a paintbrush dipped in some sort of spirit.
7. Fill The Injection Ports With Epoxy:
Following the above instructions, evenly distribute the mixture over the crack. Then, you should wait six to ten hours for the mixture to cure. The LCR epoxy, which comes in the kit looking like a silicone tube, can then be used after it feels dry. Apply the epoxy to the injection ports using a skeleton gun. Starting at the bottom injection port and working your way up will ensure a uniform distribution of epoxy.
8. Block The Injection Ports to Make Them Airtight:
Each injection port should be filled and then sealed off using the included inserts. This will hasten the curing process by preventing the ports from releasing the crucial epoxy.
9. Remove The Injection Ports:
You should remove the spouts from the injection ports after about five days. It’s fine to leave them on the foundation, although they don’t look particularly attractive. Thus, grab a hacksaw and start sawing if you wish to remove them.
Before you finish the procedure, fill the ports that were severed during removal with a little bit of crack sealant.
Congrats, you’ve just finished repairing the cracks in the basement foundation. Without a doubt, the aforementioned approach to foundation basement restoration is the simplest and safest. Concrete is frequently used by amateur contractors and do-it-yourselfers to seal, mend, and repair foundation cracks. Don’t imitate them, though, as most of the time this isn’t the case. If you feel any difficulty in repairing the cracks in the basement foundation, feel free to contact We Fix Cracks.